Version 1.0 | Last update: 11. November 2019
Battery packs
In general Amethyst use two baterry packs with 3 x 3.7V 26650 Li-Ion battery cells each. Ofcourse you could build more packs for quick swap during extended surveys, but two are backbone. This version allowing to insert and remove cells for their charging with charger. Its good for batteries life and you could swap two or more sets of batteries using one enclosure - one set of batteries is used, other is charged same time.
This is most complex part to make, precission is a must for pack´s watertightness, your safety and proper function of whole craft.
1.
Battery pack
3D printed parts
All STL files are already oriented for generating g-code with your favorite software. Check part list on the right side of this page for best printing results.
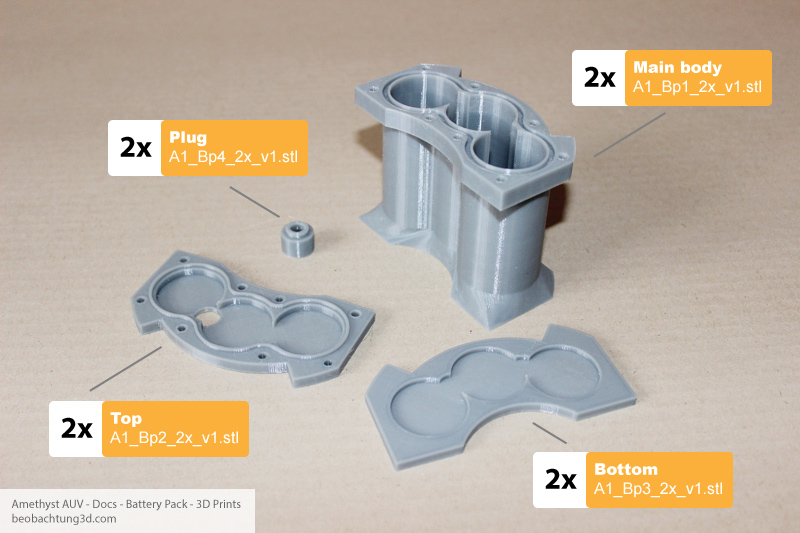
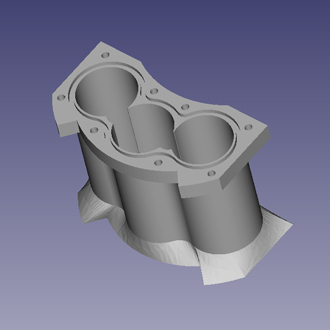
A1_Bp1_2x_v1.stl
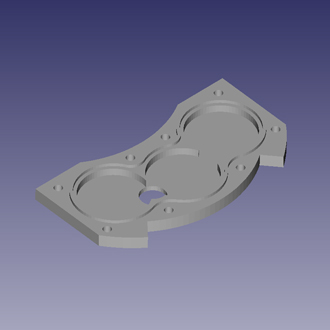
A1_Bp2_2x_v1.stl - TOP
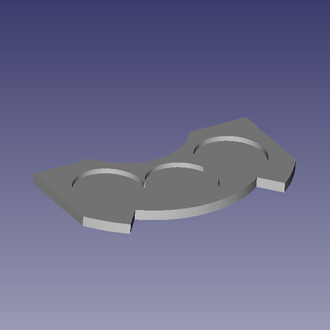
A1_Bp3_2x_v1.stl - Bottom
A1_Bp4_2x_v1.stl - Sealing cable joint
2.
Battery pack
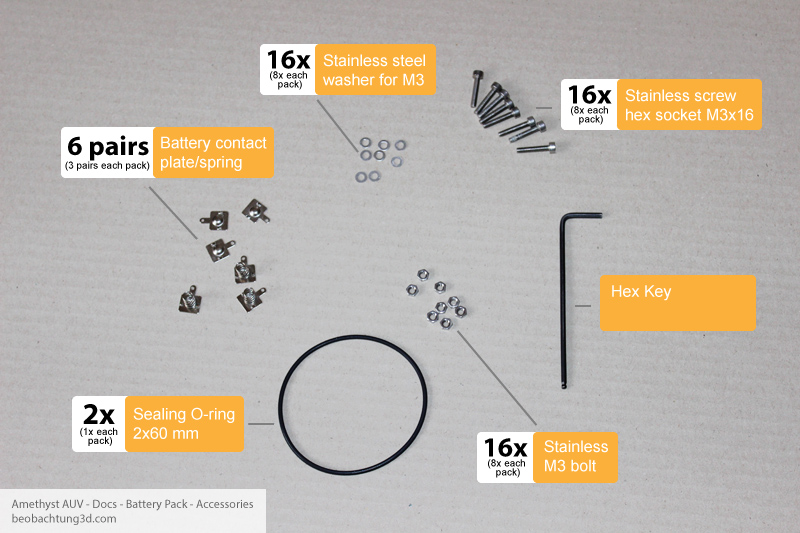
Assembly parts
1x Hex key as tool
3 pairs of Battery connectors
1x O-ring 2x60
8x M3 hex socket screw 16
8x washer
8x M3 bolt
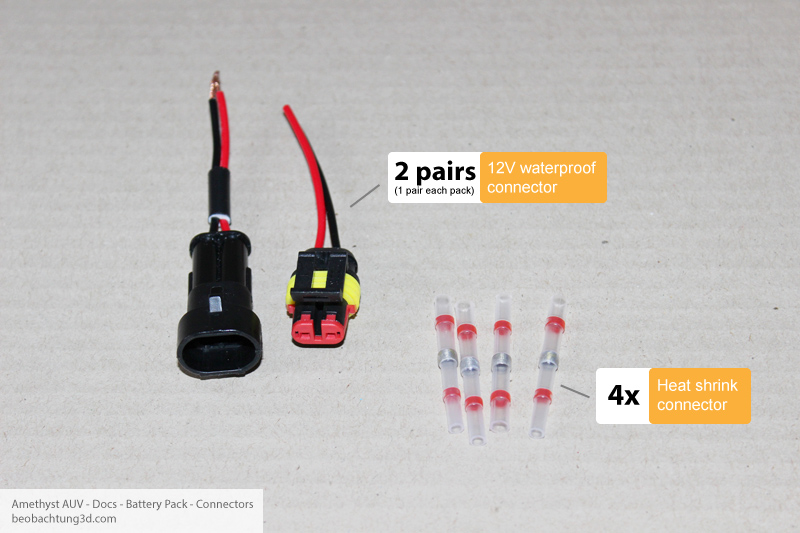
1x 2pin 12V waterproof connector
2x Sealing Heat Shrink terminals
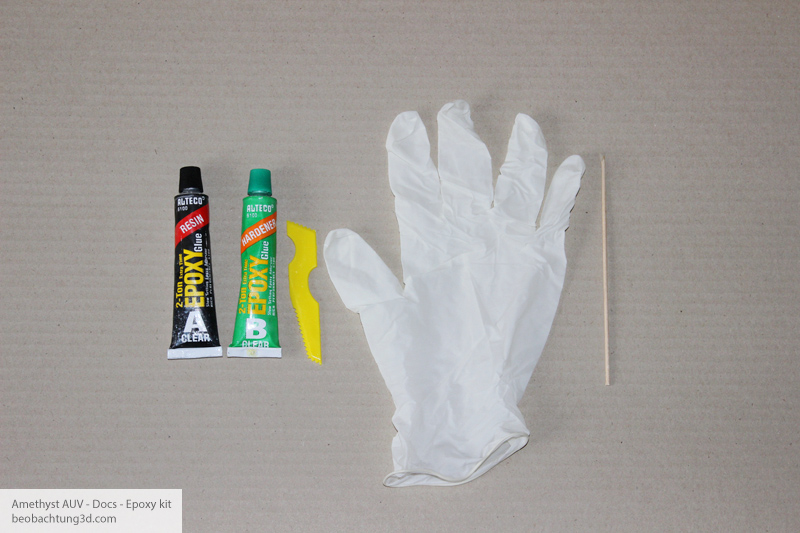
1x Epoxy glue set - we use non fast curing, clear epoxy. Please check our eco guide before using this chemicals.
3.
Battery pack
Assembly
1. Glue battery contact plates and springs
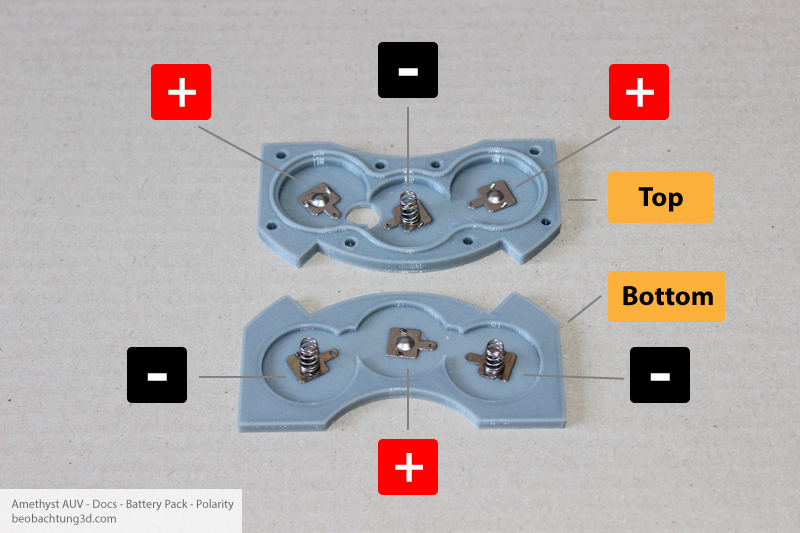
Glue battery contact plates to printed parts and left the epoxy for curing. Be careful of right polarity. Check it twice! Plates should face springs on other side of the pack.
2. Solder contacts together
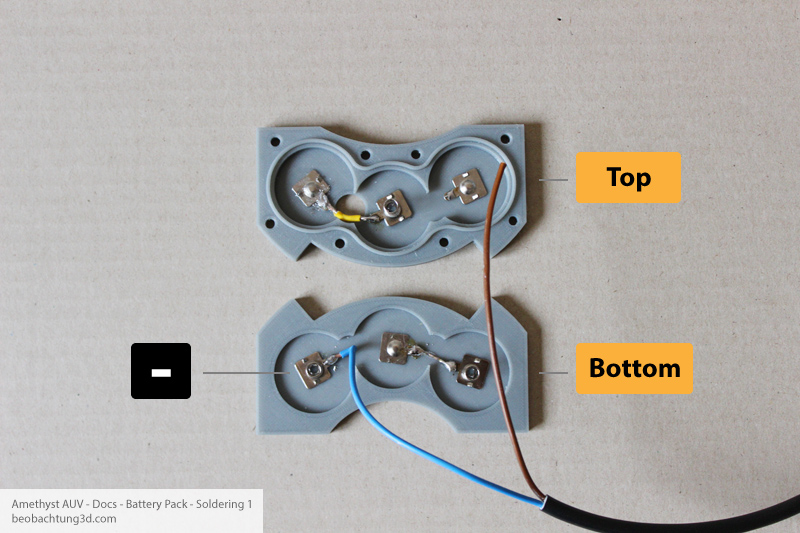
Deisolate cable as shown on picture. Deisolated - blue wire of whole cable should be 110mm to 120mm long. Solder cable to bottom's negative out as well. Look the picture carefully to pick and solder cable to right (bottom) part. Try to solder better than I did as can be seen on picture.
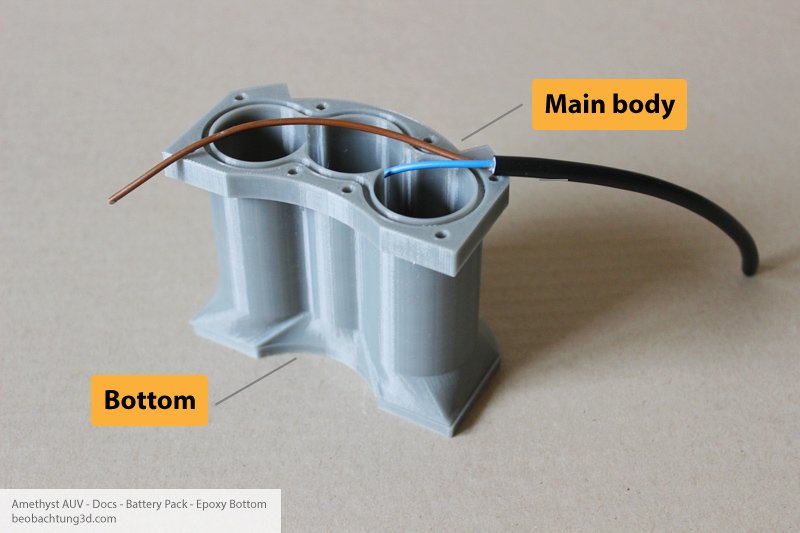
3. Epoxy bottom covering to main body of pack
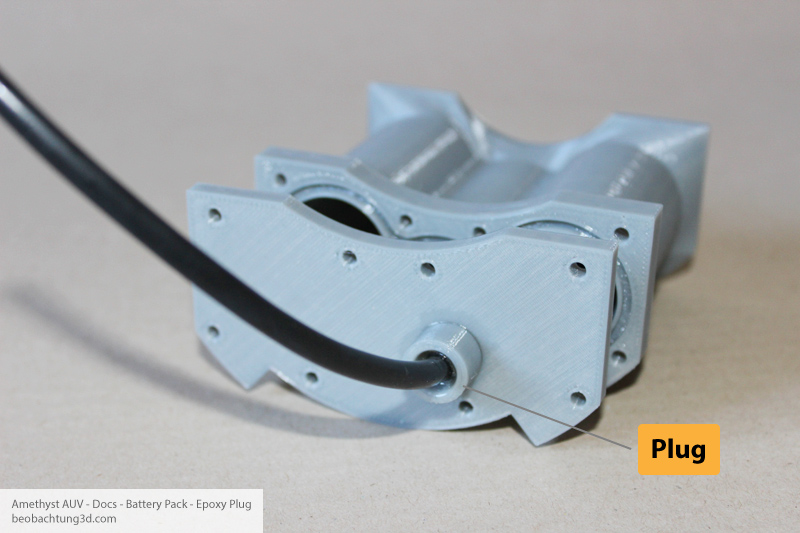
4. Epoxy plug to top part
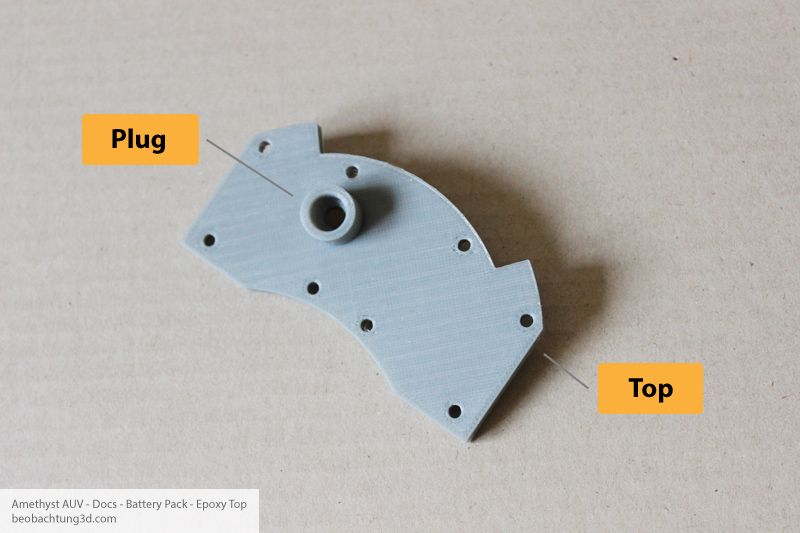
Hole through plug should stay free for wire we will insert in next steps.
6. Solder top's positive contact to cable
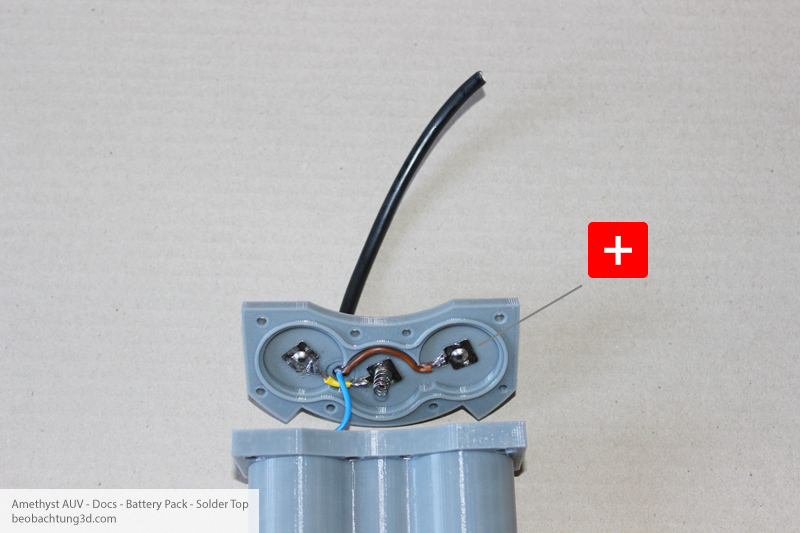
7. Epoxy cable in sealing joint, consider cover layer
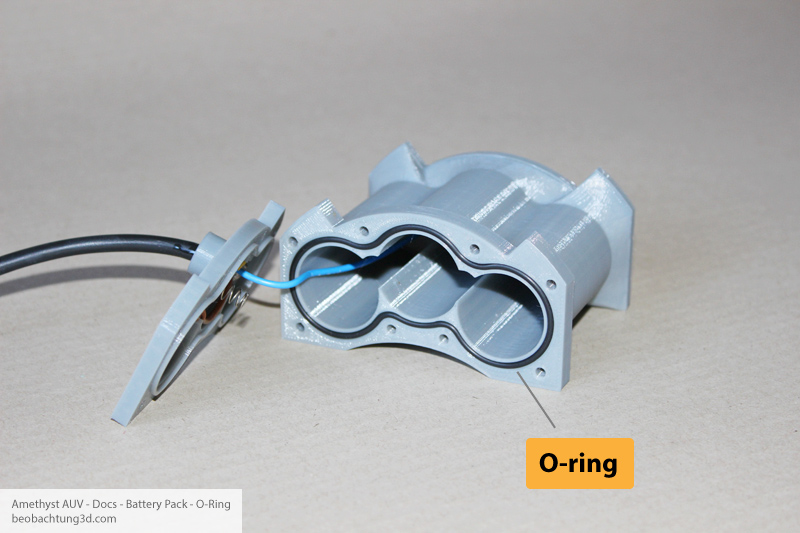
8. Squeez O-ring in to groove
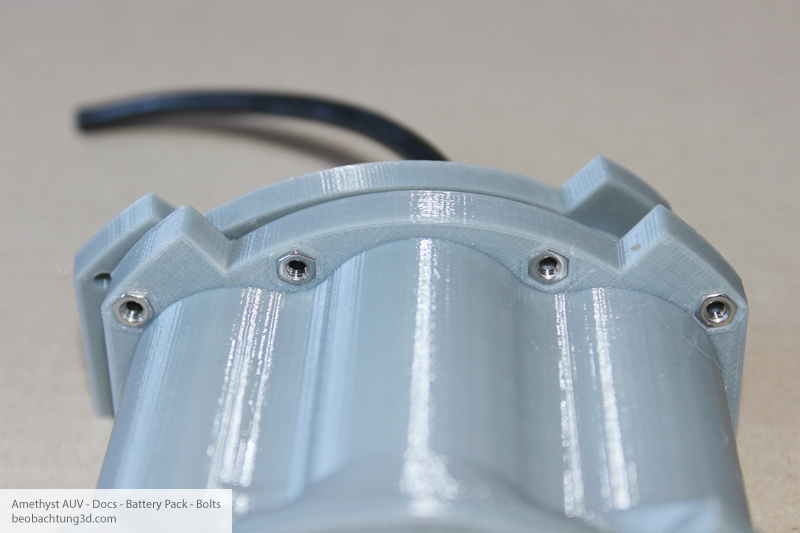
9. Push bolts in to holes
10. Prepare wires
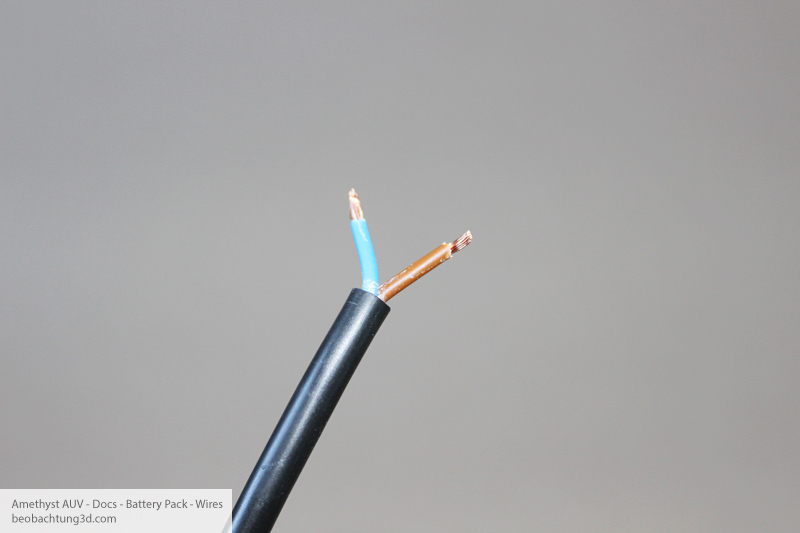
Strip of isolations from wires and separate positive from negative wire to prevent short circuit. Double check that.
11. Insert batteries in to pack
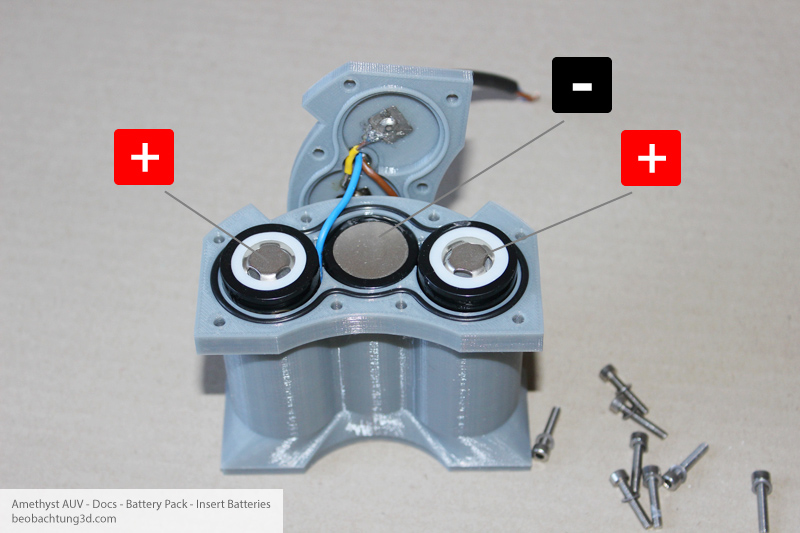
11. Test proper conductivity of the pack
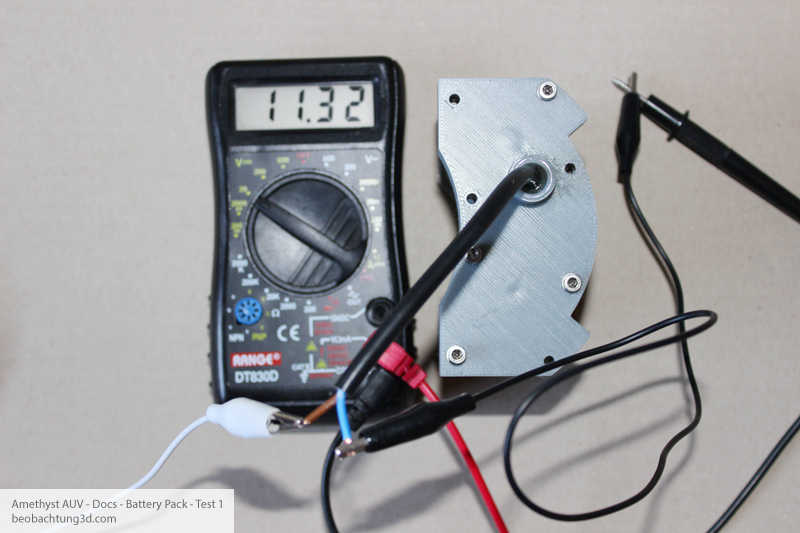
12. Remove batteries and close tight enclosure, fasten screws
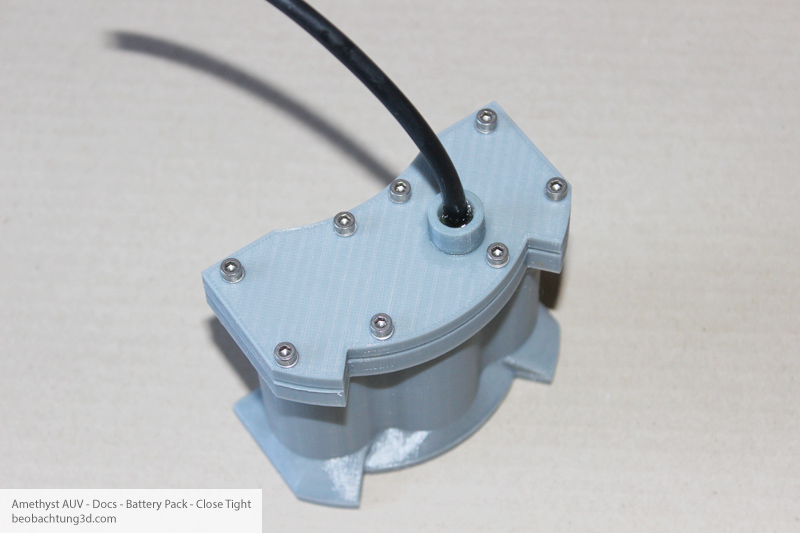
13. Test watertightness
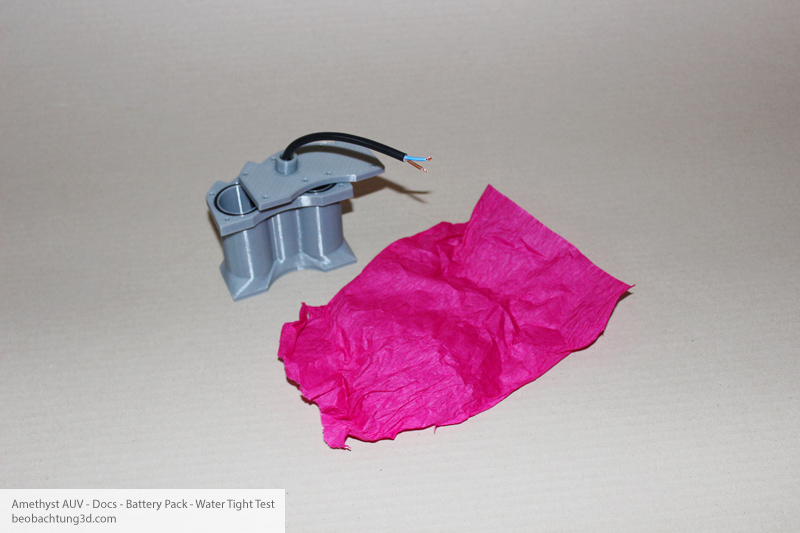
For water tight test we gonna use some colored paper, best of all crepe paper. Stuff the paper into the battery pack and seal it with o-ring, fasten the screws. Submerge the pack in to water bin for approx one hour. Then pull out the pack and prior to open it, let the pack complete dry out - mainly the space around o-ring. When it became completely dry, open it and pul the paper out.
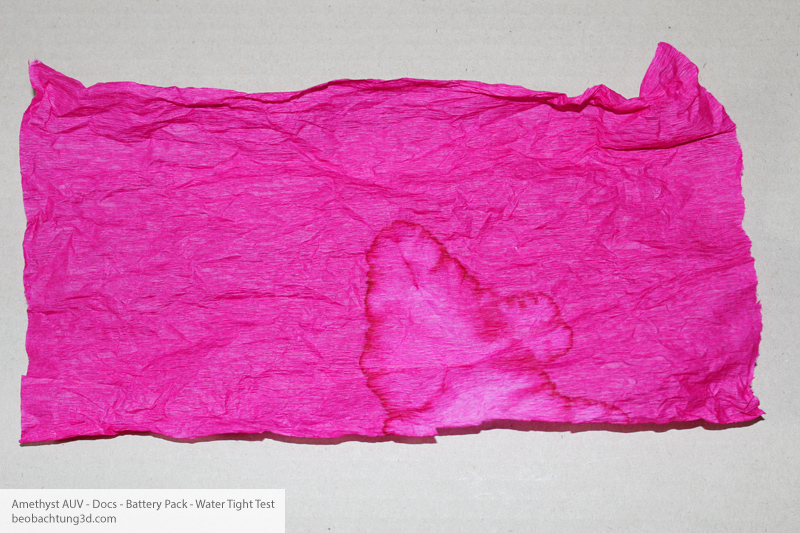
If your pack leaking you should notice stain on the paper - even when the paper dry out inside the pack meanwhile. If paper is dry and clean, your pack is perfect.
14. Attach waterproof connector
15. Test conductivity
About battery charging
Never mix battery cells between sets. Allways charge two sets in two chargers same time.
