Version 1.0 | Last update: 11. November 2019
Bow Section
1.
Bow section
3D printed parts
All STL files are already oriented for generating g-code with your favorite software. Check part list on the right side of this page for best printing results.
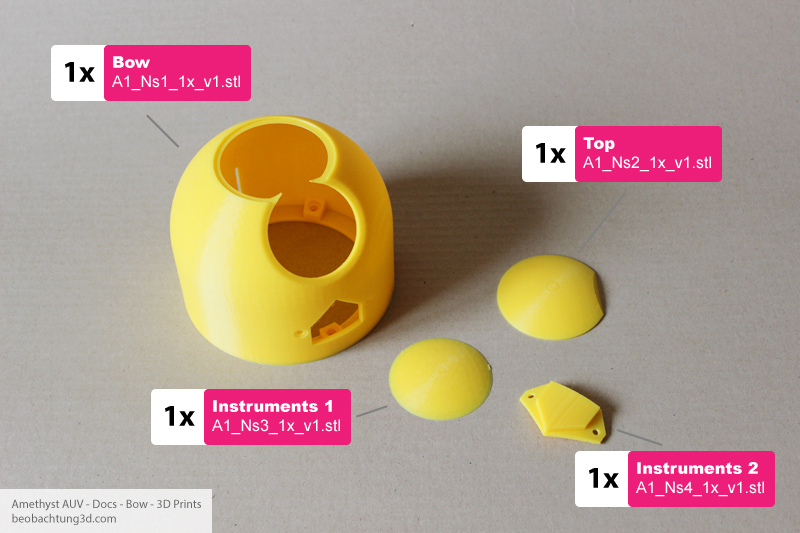
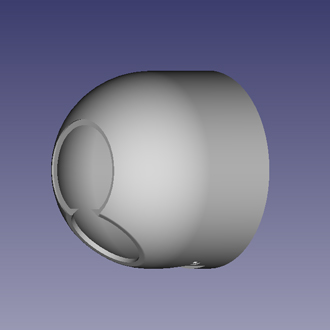
1x - Main Bow part - A1_Ns1_1x_v1.stl
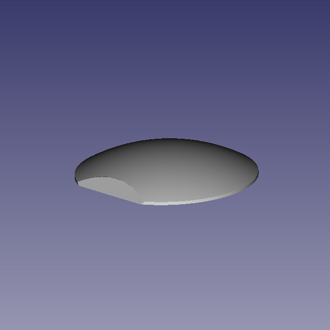
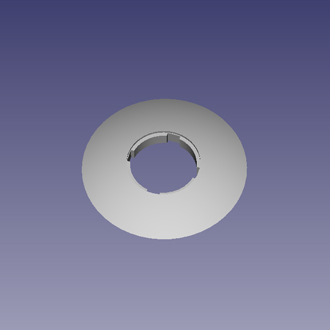
1x - Top - A1_Ns2_1x_v1.stl
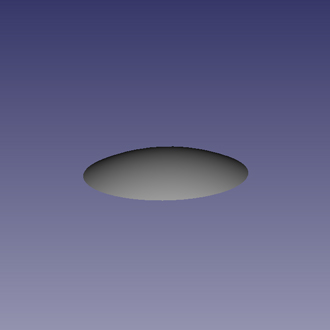
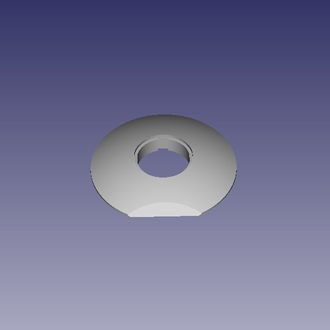
1x - Instruments part 1 - A1_Ns3_1x_v1.stl
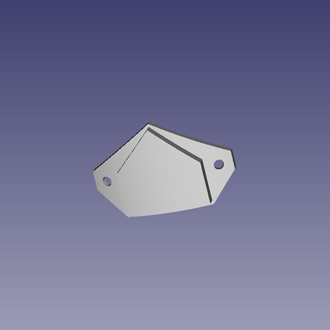
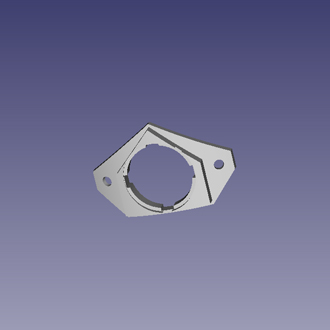
1x - Instruments part 2 - A1_Ns4_1x_v1.stl
Top, Instruments1, Instruments2 parts are intendet to make your own cuttouts for your sensors, cameras, instruments. Use 3D software of your chice (FreeCAD is free), import stl files and cut the mountings.
You can also print out alternative versions when you want use ultrasonic rangefinders as echosounders:
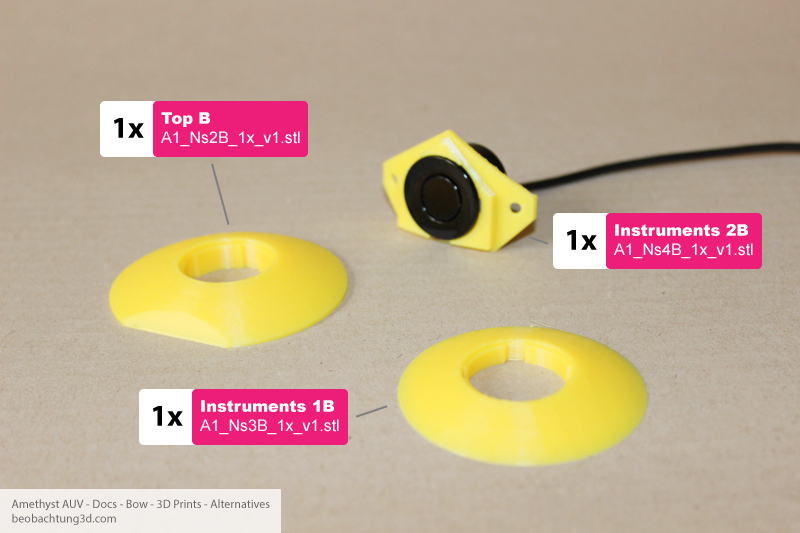
Ultrasonic sensor is visible mounted (black) in Ns4B part.
1x - Top B - A1_Ns2B_1x_v1.stl
1x - Instruments part 1B - A1_Ns3B_1x_v1.stl
1x - Instruments part 2B - A1_Ns4B_1x_v1.stl
2.
Bow section
Assembly parts
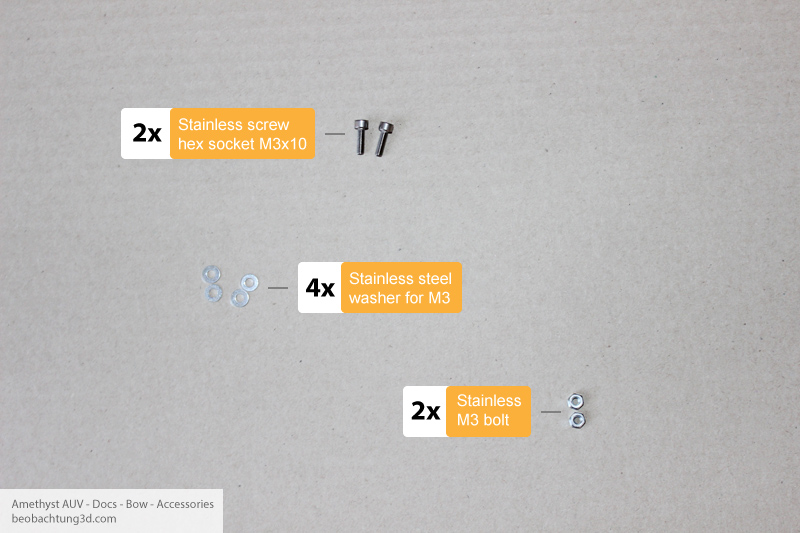
| How many | Type | Type note |
|---|---|---|
| 2x | M3x10 | Stainless steel hex socket head cap screw |
| 2x | M3 bolt | Stainless steel |
| 4x | M3 washer | Stainless steel |
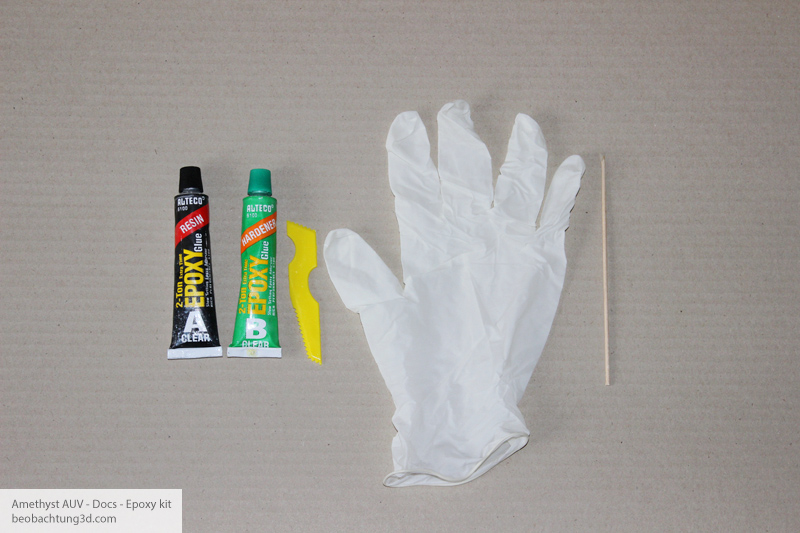
1x Epoxy glue set - we use non fast curing, clear epoxy. Please check our eco guide before using this chemicals.
3.
Bow section
Assembly
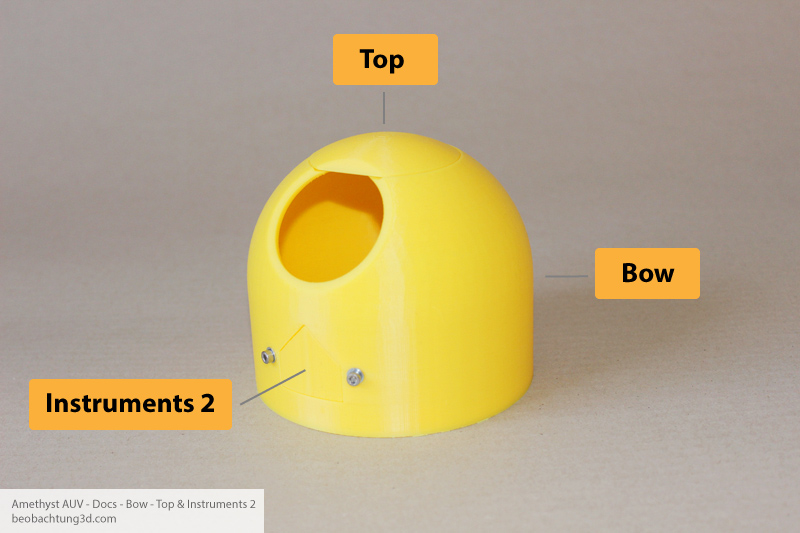
Insert Instrument2 (sense down adapter) part in to hole of main bow part, use washers, fasten screws. Then use epoxy and glue top part (sense forward adapter) to bow part. Notice mortise on Top part. This motise should complete circumferential circle for Instruments1 part as showed on picture.
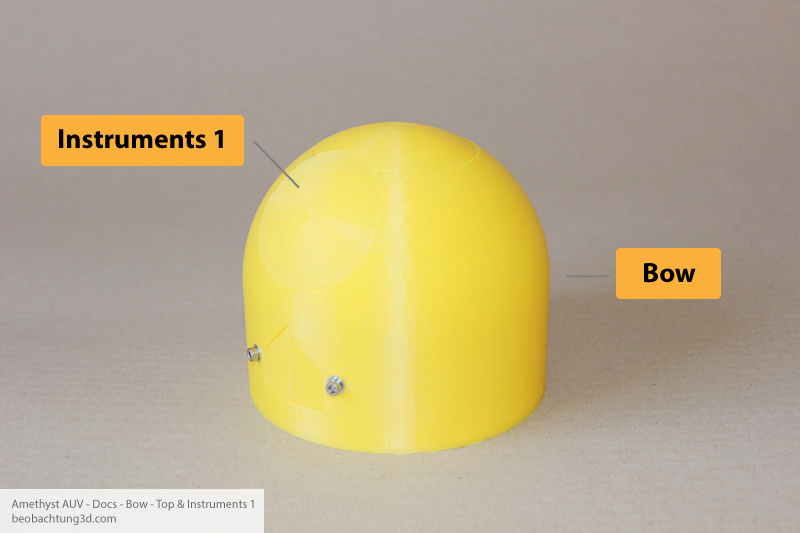
Epoxy Instrument1 (sense angle adapter) part to main bow.
4.
Bow section
Ultrasonic sensors
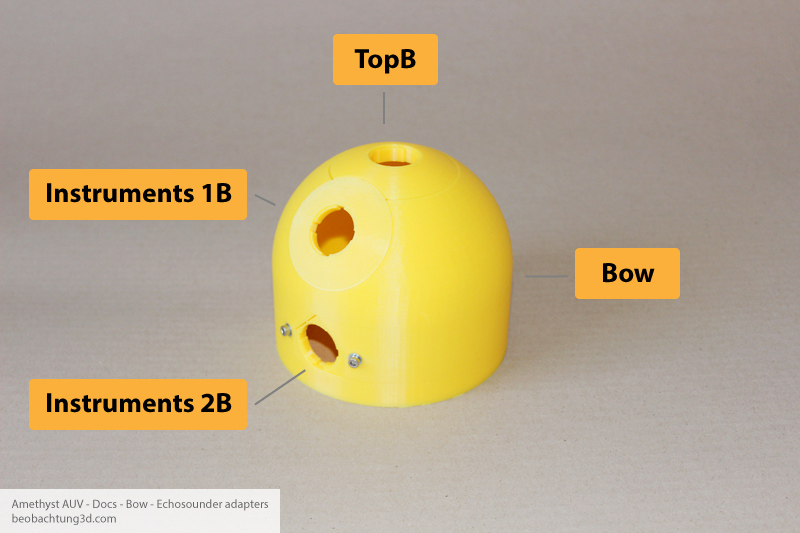
You could use and assembly ready made parts for incorporating standart car type ultrasonic range finder sensors, wich are pretty comon to find at internet.
