Version 1.0 | Last update: 11. November 2019
Vertical Thruster Section
1.
Vertical Thruster Section
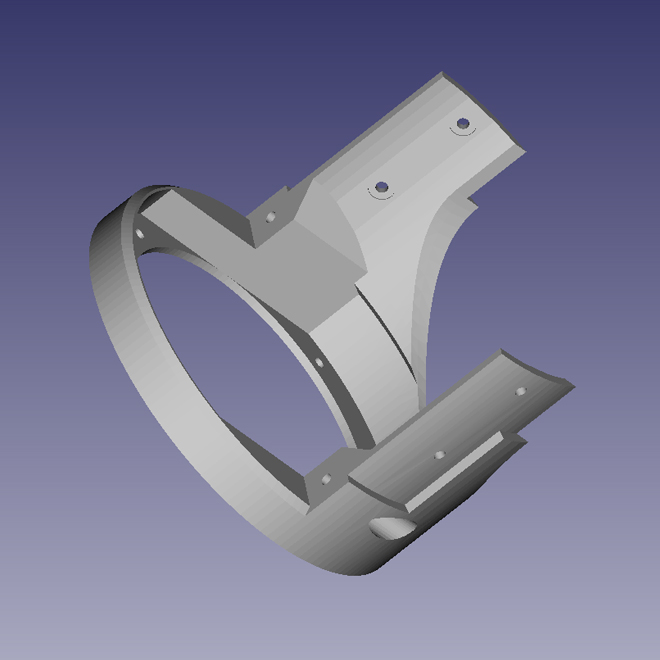
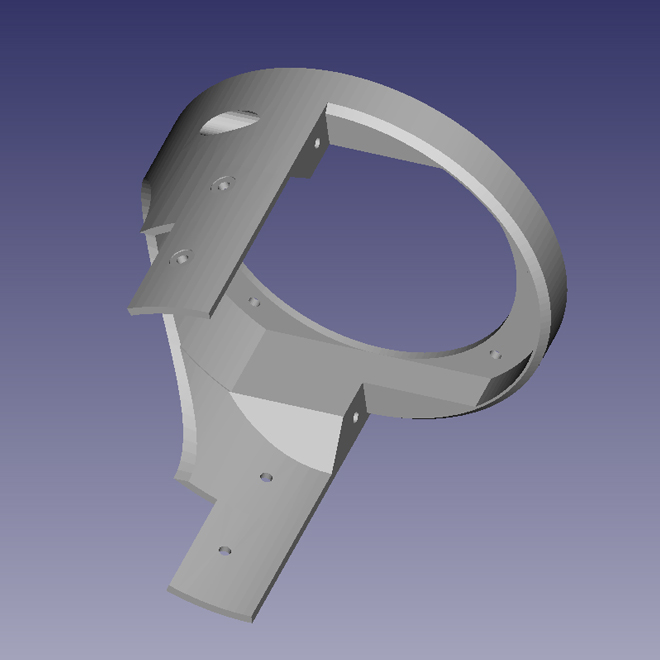
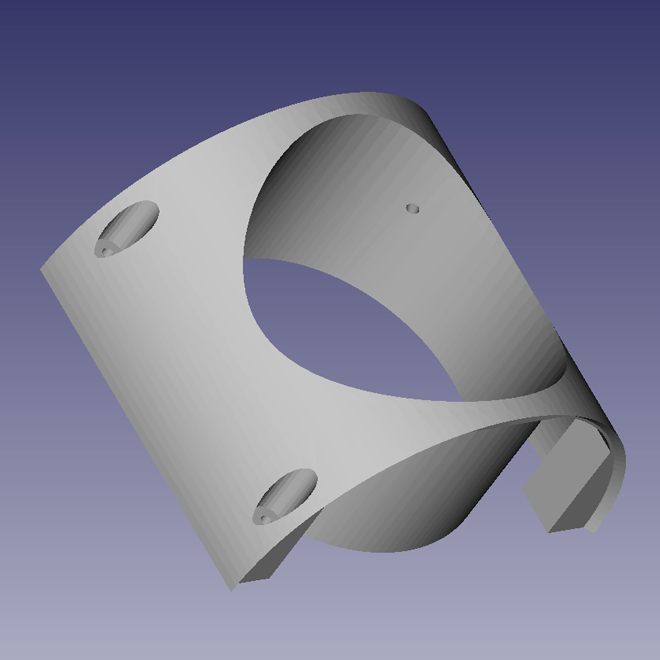
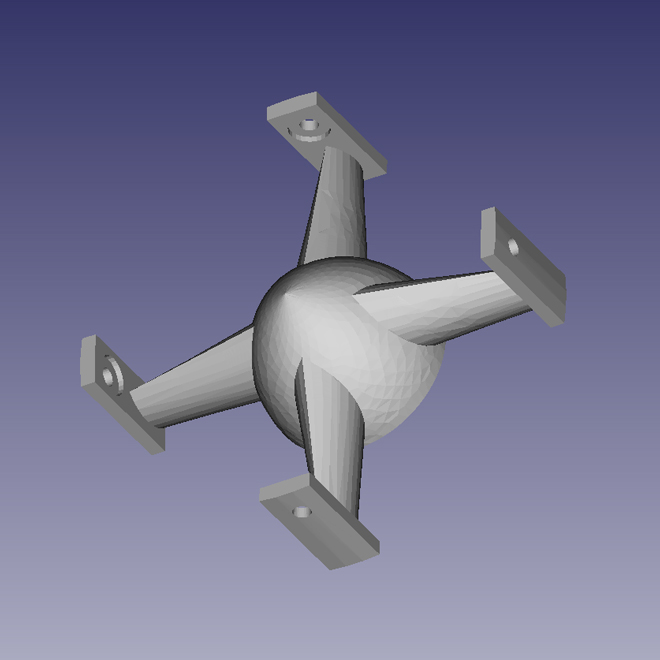
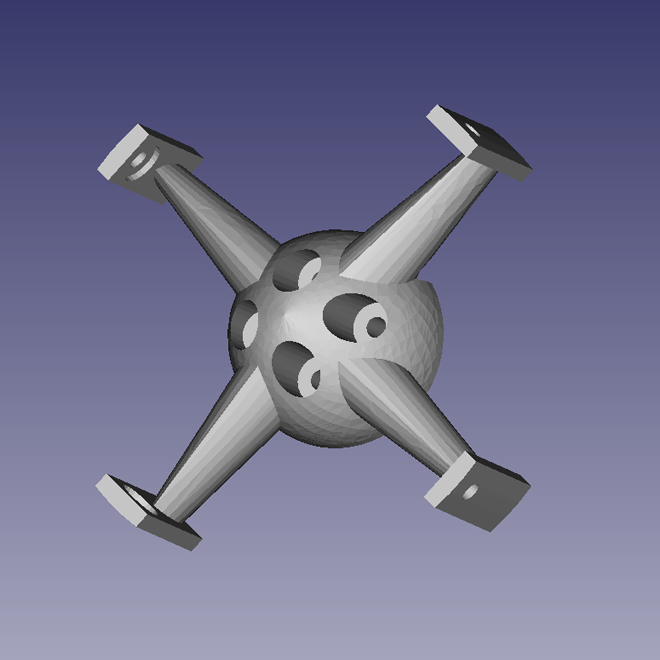
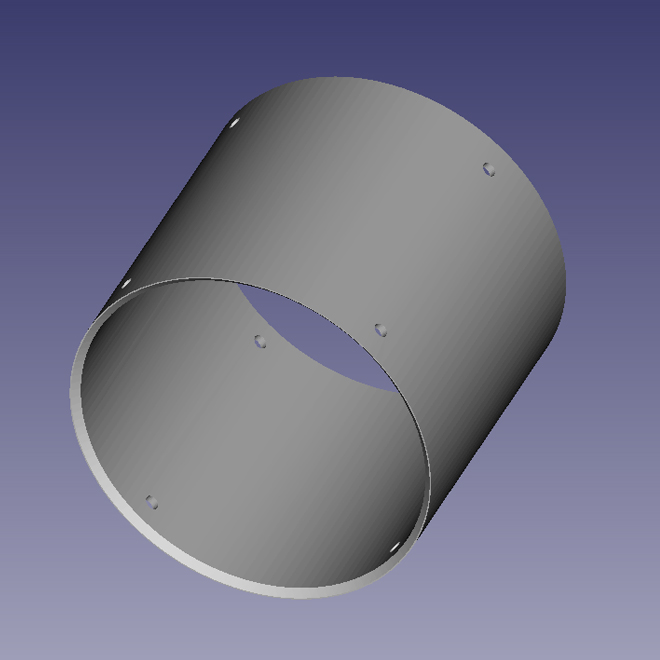
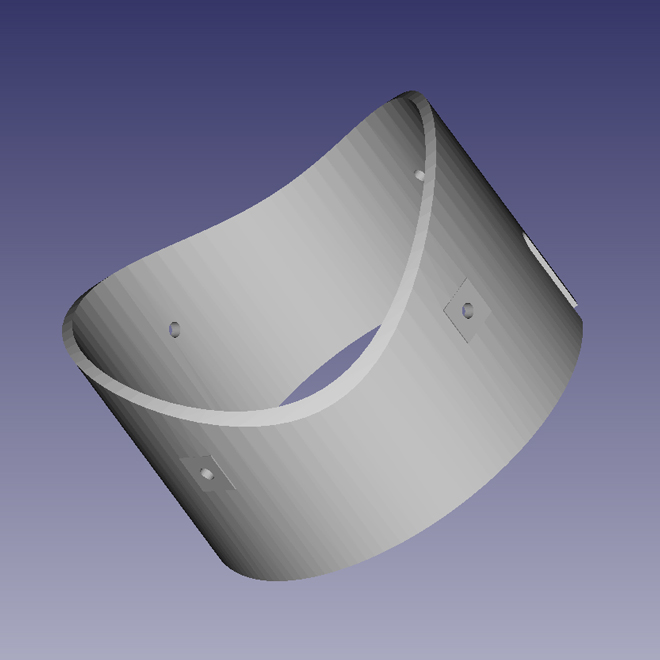
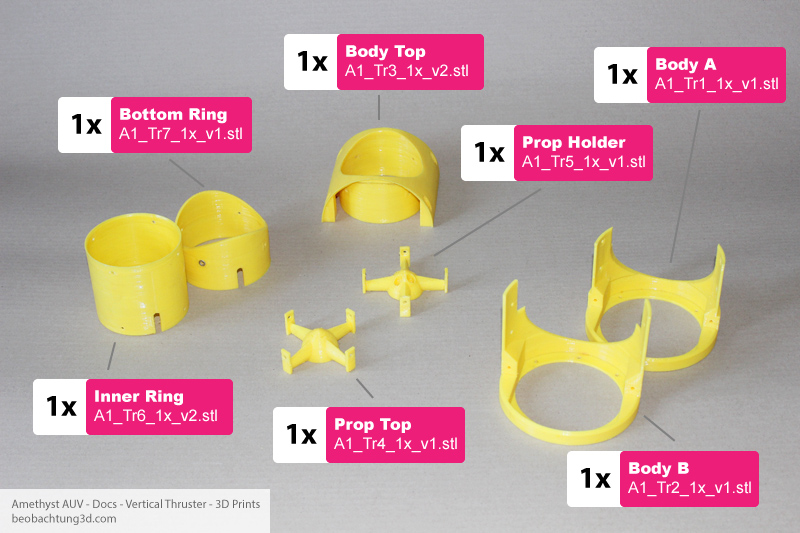
3D printed parts
All STL files are already oriented for generating g-code with your favorite software. Check part list on the right side of this page for best printing results.
2.
Vertical Thruster Section
Assembly parts
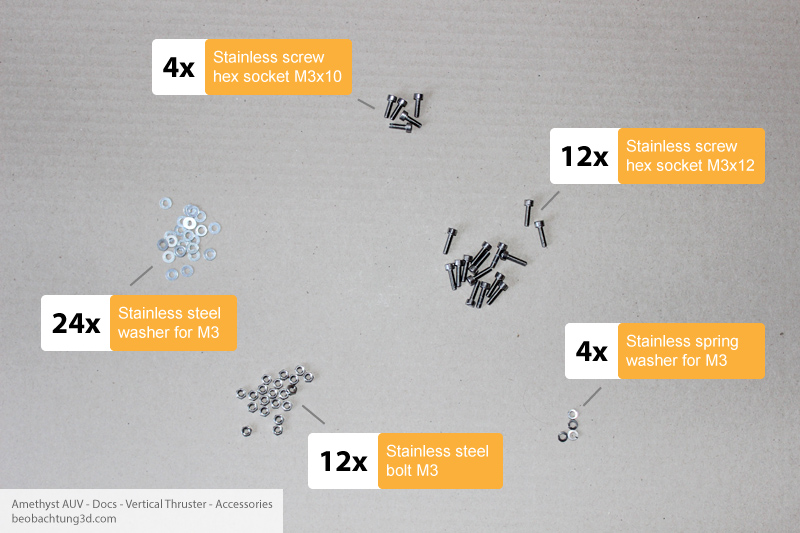
| How many | Type | Type note |
|---|---|---|
| 4x | M3x10 | Stainless steel hex socket head cap screw |
| 8x | M3x12 | Stainless steel hex socket head cap screw |
| 4x | M3x34 | Stainless steel hex socket head cap screw |
| 16x | M3 bolt | Stainless steel |
| 32x | M3 washer | Stainless steel |
| 4x | M3 spring washer | Stainless steel |
3.
Vertical Thruster Section
Assembly
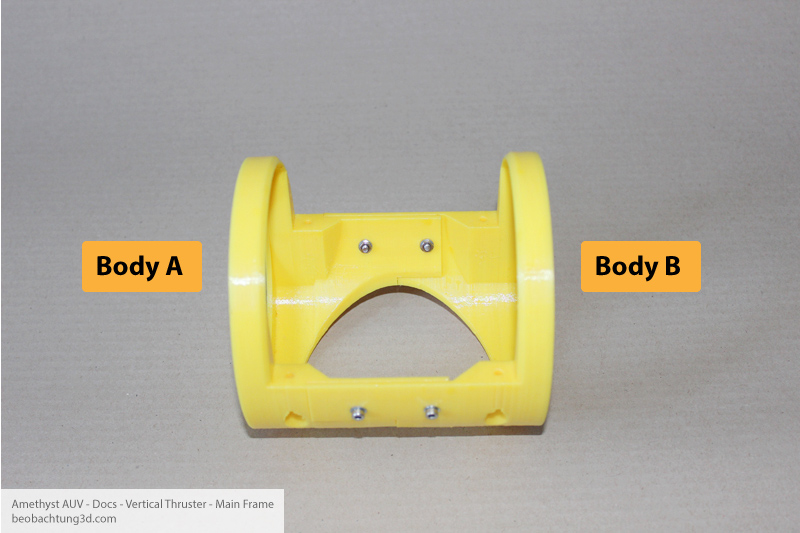
Connect and fix Body A and Body B part together using 4 M3x10 screws 4 M3 bolts and 8 washers. Let´s assembly the thruster block...
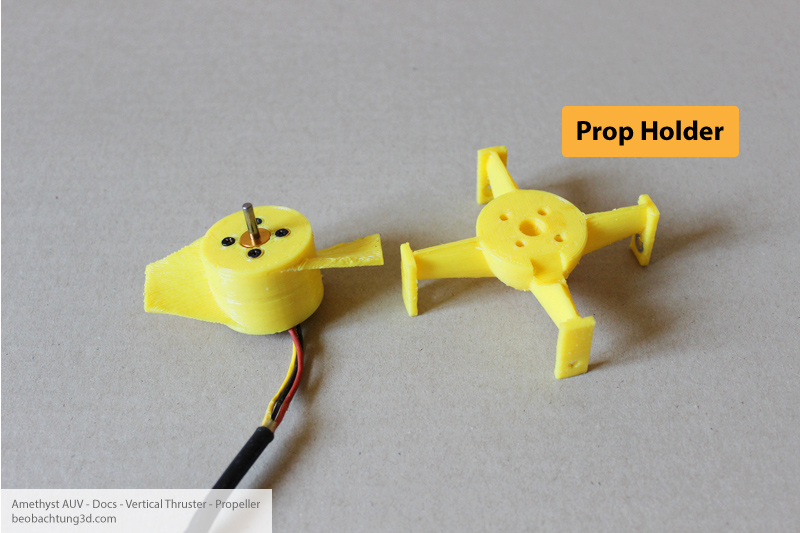
We gonna connect previously prepared propeller with Prop Holder part and start to form our thruster block.
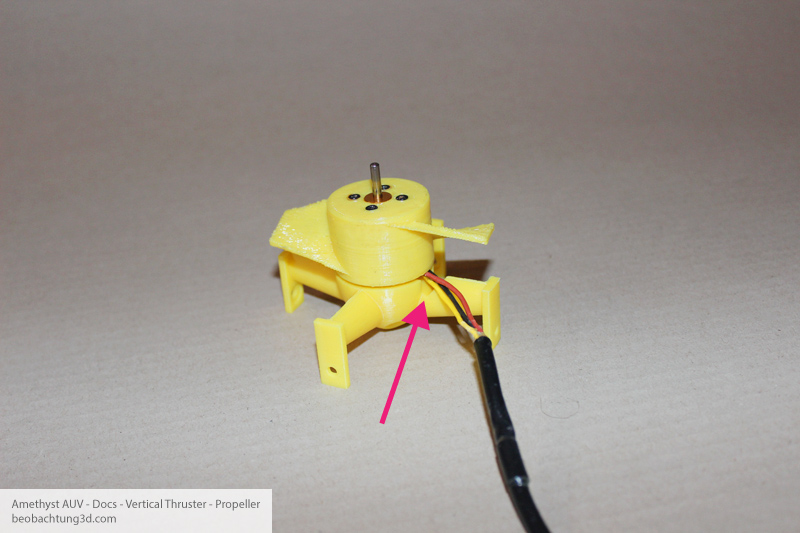
Like this. Notice arrow. Motor have to be situated with wires pointing the stroked leg of the holder. This way wires will not to humper the propeller. Use M3x12 screws and 4 spring washers. Spring washers will help wistand vibrations and hold him on place more reliable.
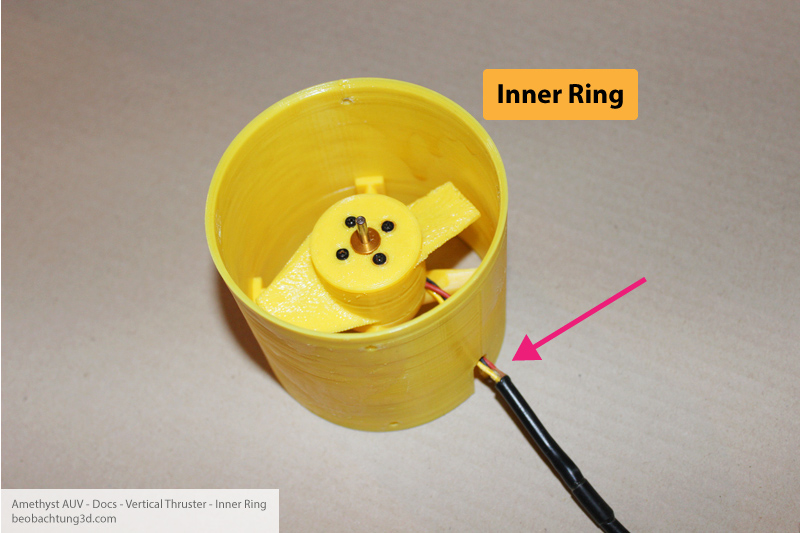
Put assembled propeller down in to the inner ring. Do not fasten parts with screws. Just put the screws through holes of Inner Ring and Prop Holder just a little. Cables should exit throuhgh cutout at inner ring (arrow).
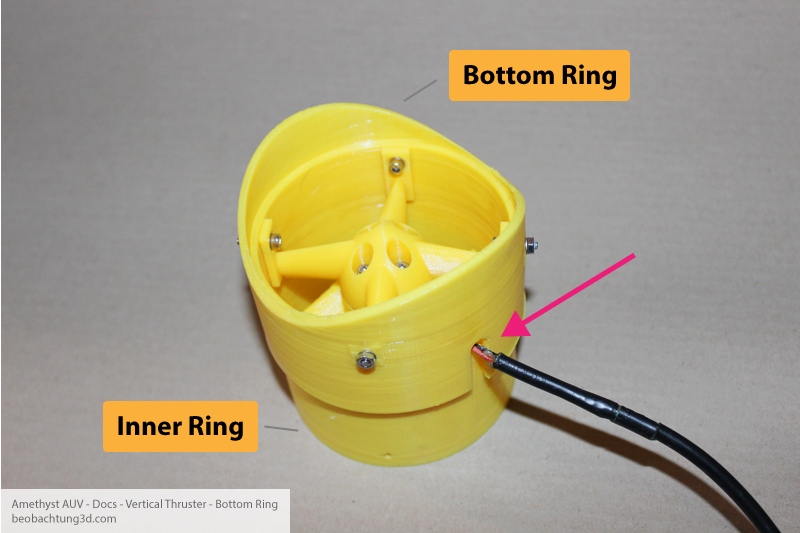
Push Bottom Ring on to Inner ring. Cutouts at Bottom ring and Inner ring should meet each other to form hole for cables going out (arrow). Be patient and place all three parts agains each other where you can insert screws to all four holes and connect those parts together. Attach washers and bolts but do not fasten the screws yet. Its better to insert screws from the inside of the rings. It looks better in final.
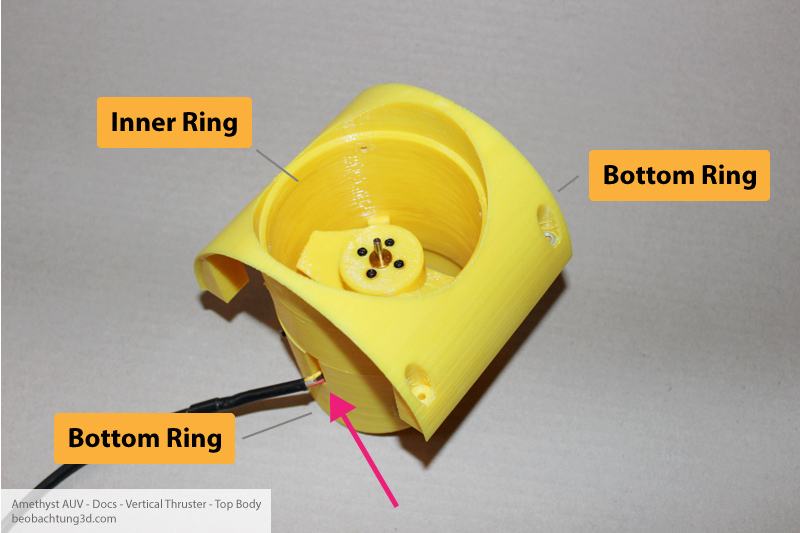
Push Body top part on previously assembled part. Notice orientation of cable (arrow) against the Body Top part.
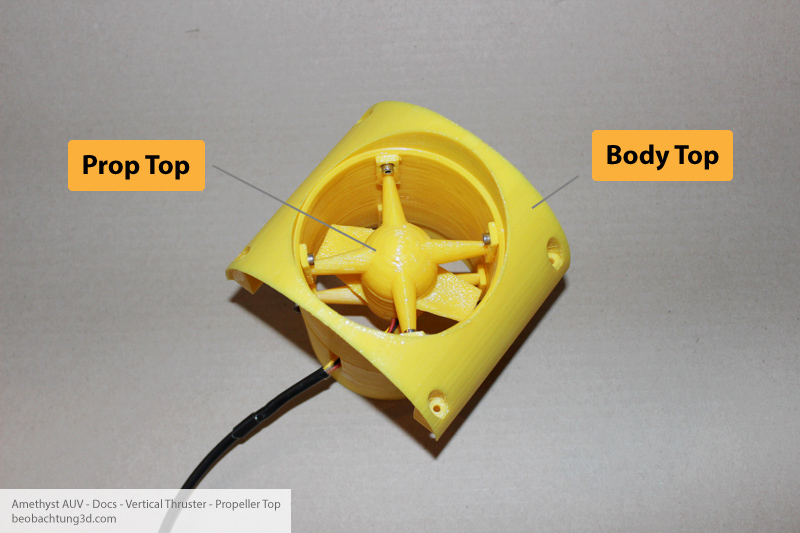
Insert Prop Top part in to ring to fit holes for screws. Insert screws from inside of ring. Gradually fasten all 8 screws of Prop Holder and Prop Top.
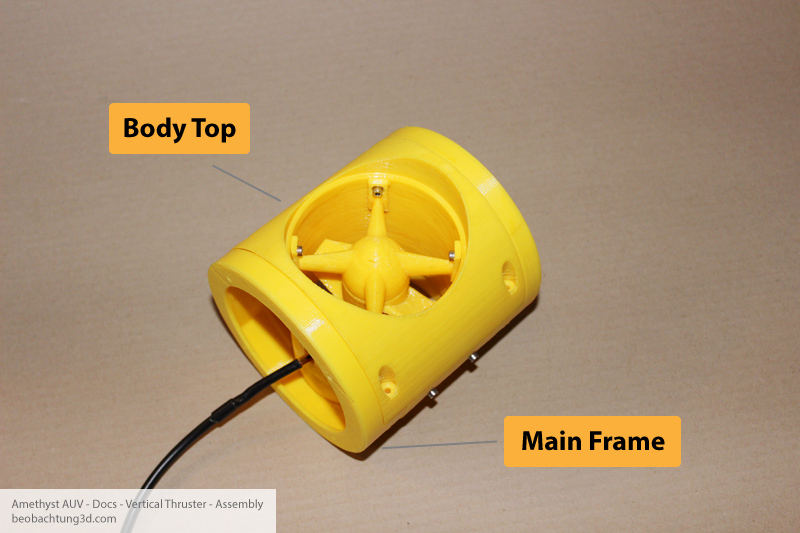
Insert carefuly assembled part in to Main Frame. Watch out not to harm cables. Do not connect two parts with screw yet. We will do it later.
