Version 1.0 | Last update: 11. November 2019
Dry Compartment
All STL files are already oriented for generating g-code with your favorite software. Check part list on the right side of this page for best printing results.
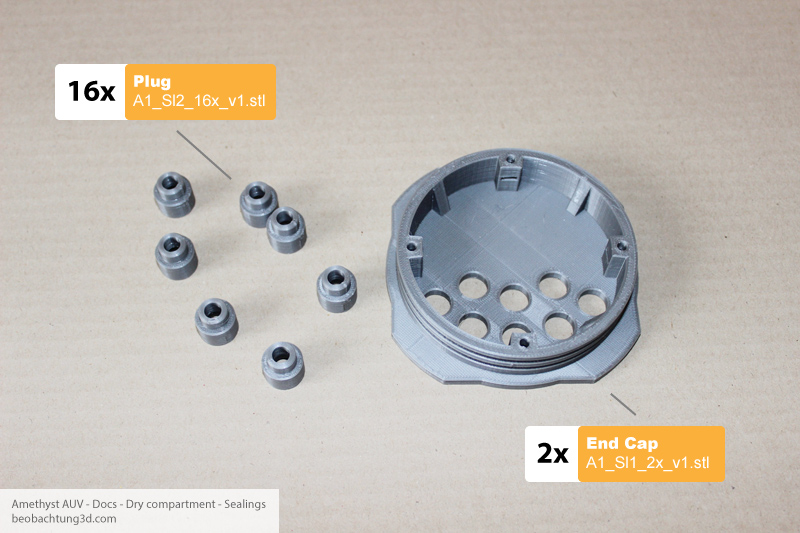
| How many | Name | STL file name |
|---|
| 2x |
End cap |
A1_Sl1_2X_v1.stl |
|---|
| 16x |
Plug |
A1_Sl2_16x_v1.stl |
|---|
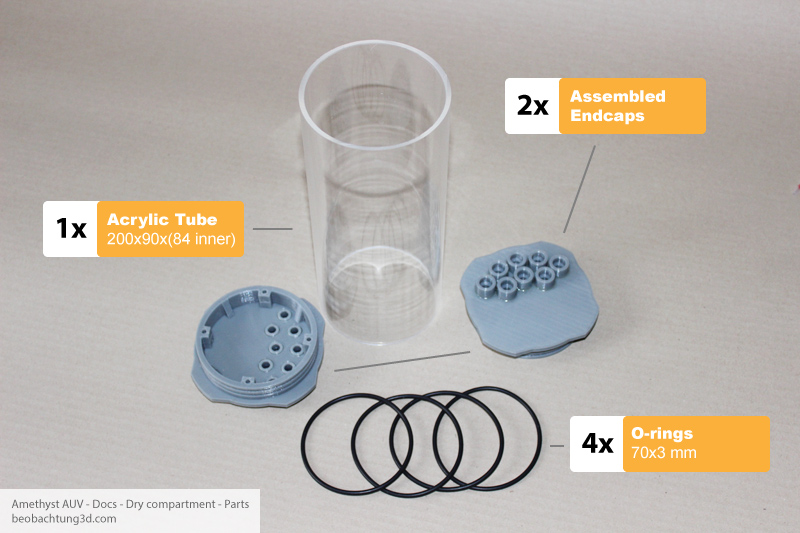
| How many | Name | Where to buy |
|---|
| 1x |
Acrylic Tube 200x90x(84 inner)mm |
search internet |
|---|
| 4x |
70x3 mm O-rings |
search internet |
|---|
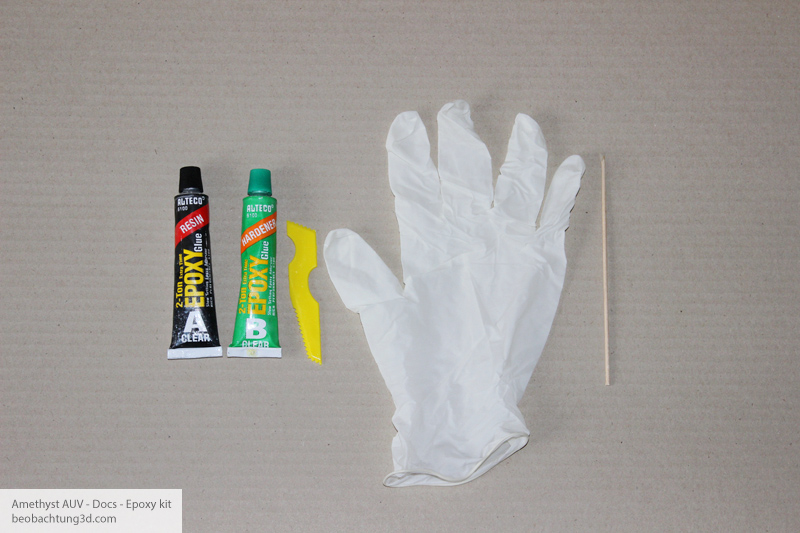
1x Epoxy glue set - we use non fast curing, clear epoxy. Please check our eco guide before using this chemicals.
1. Epoxy plugs to end caps
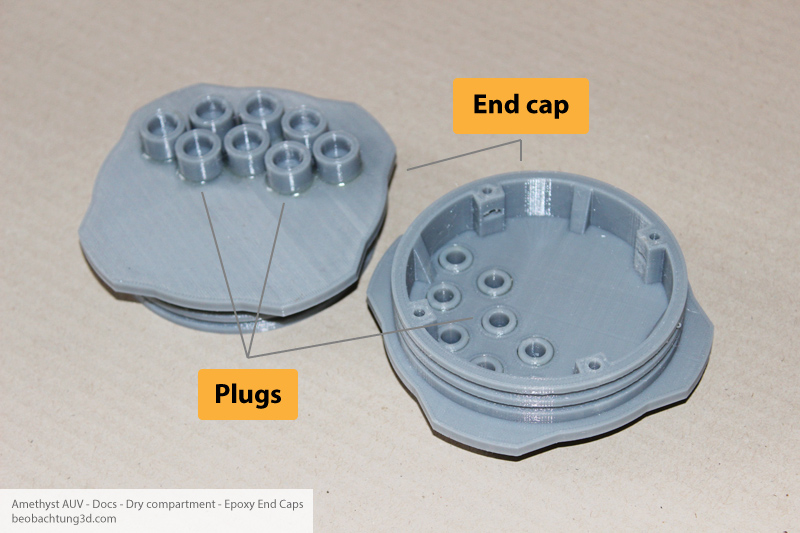
Use epoxy and glue plugs to end cap´s holes. Holes in plugs should stay free for wires we will insert later.
2. Watertight completation with O-rings
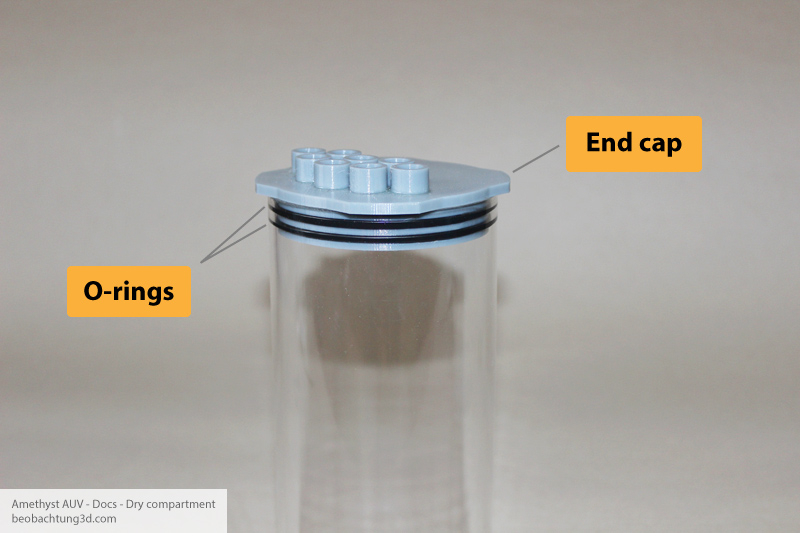
Before fitting the o-rings on the bung of end cap, apply bit of silicone grease on them to lubricate them and let the end cap plunge more easily in to acrylic tube. If you dont´d have silicon grease, you could improvise and use some greasy cream or so. When you insert end cap bung in to tube with O-rings in grooves attached, you schould see that both o-rings are leaning tight against side of acrylic tube. O-ring shoud be bit sqeezed against side of tube around their entire circumference. If they not, pull out the end cap, turn 45 degrees an put it in again. If this will not help, you should check dimensions of O-rings / acrylic tube and / or inproove your 3D printer settings for end cap parts correction print out.
Wires through end cap
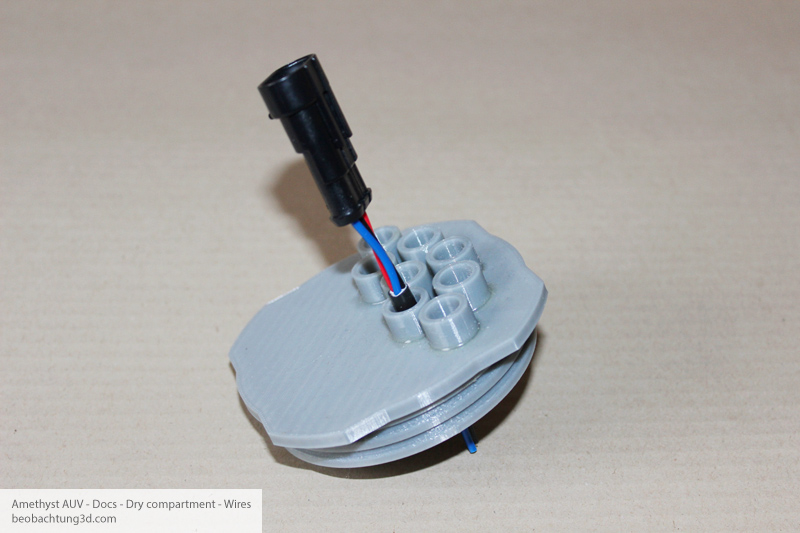
Push need wires through endcap plugs and seal them with epoxy. Plugs that your project doesn´t need seal as blind by epoxy too.
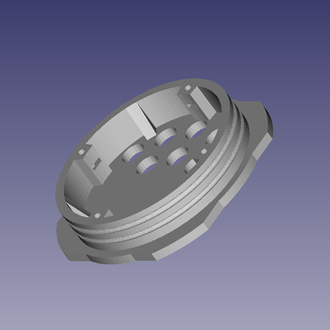 |
Sl1
Can be printed without supports raft.
Should be printed from PET with maximum printing quality, idealy with 100% infill. Cover layer of epoxy glue is strongly suggested.
Prior printing, check this article.
Copies to be printed for one section: 2
Print time: 3h 55m*
Craft´s version: A1
Part version: V.1
STL File name: A1_Sl1_2x_v1.stl
|
|---|
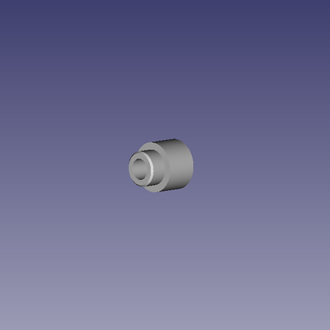 |
Sl2
Can be printed without supports raft.
Should be printed from PET with maximum printing quality, idealy with 100% infill. Cover layer of epoxy glue is strongly suggested.
Prior printing, check this article.
Copies to be printed for one section: 14
Print time: 23m*
Craft´s version: A1
Part version: V.1
STL File name: A1_Sl2_2x_v1.stl
|
|---|
Alternative Versions
These versions are the same objects as Sl1 sealing, except some modifications.
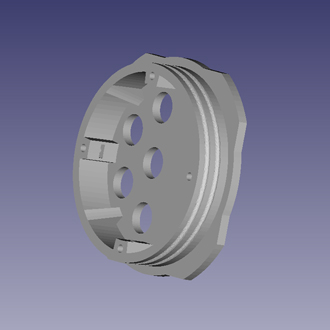 |
Sl1B
This object is same as Sl1 except it has only 5 holes with special diameter for waterproof cable glands joins. Its for those who prefer to use these unified joints and don´t mind to have a less outputs from side of dry compartment.
Can be printed without supports raft.
Should be printed from PET with maximum printing quality, idealy with 100% infill. Cover layer of epoxy glue is strongly suggested.
Prior printing, check this article.
Copies to be printed for one section: 2
Print time: TBU
Craft´s version: A1
Part version: V.1
STL File name: A1_Sl1B_2x_v1.stl
|
|---|
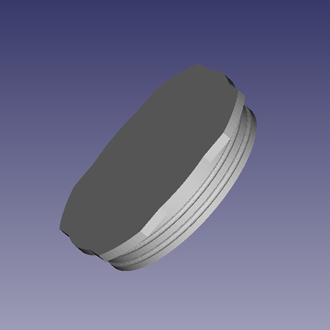 |
Sl2C
This object is same as Sl1 except it has no holes out. You can import it in to your favorite CAD software (FreeCAD) and easy cut holes as you need.
Can be printed without supports raft.
Should be printed from PET with maximum printing quality, idealy with 100% infill. Cover layer of epoxy glue is strongly suggested.
Prior printing, check this article.
Copies to be printed for one section: 2
Print time: 3h 39m*
Craft´s version: A1
Part version: V.1
STL File name: A1_Sl1C_2x_v1.stl
|
|---|
* Times were measured with settings of 0.15 layer height, 40% infil, for PLA filament. Sliced with Slic3r for MK3 Prusa printer. Note, that this is not print settings recomendation. Read this


